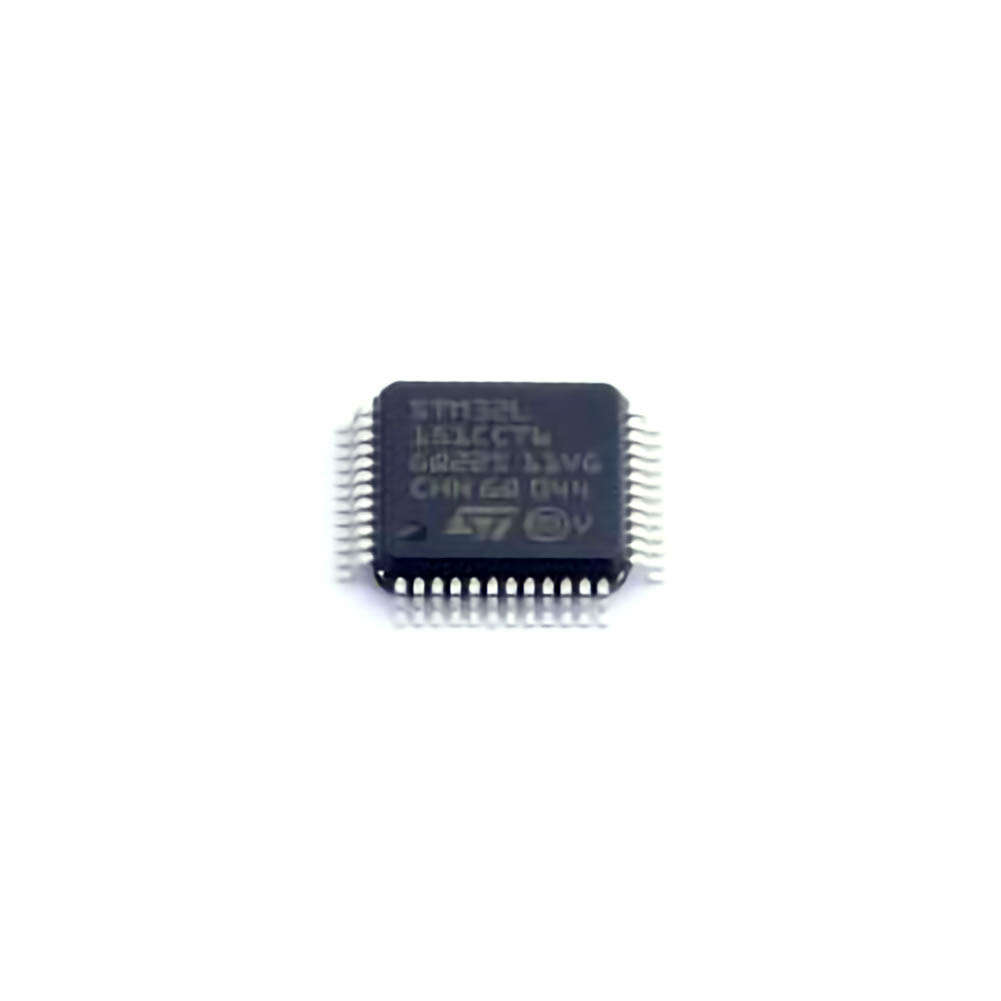
This article covers the common issues faced while working with the STM32L151CCT6 microcontroller and offers practical troubleshooting solutions. Aimed at both beginners and experienced engineers, it provides actionable insights to help resolve typical challenges and improve development efficiency.
Understanding the STM32L151CCT6 and Common Troubleshooting Scenarios
The STM32L151CCT6, part of the STM32L1 series from STMicroelectronics, is a low- Power , ARM Cortex-M3 based microcontroller designed for embedded applications. It is commonly used in battery-operated devices, IoT applications, and industrial control systems due to its excellent balance between performance and energy efficiency. However, like any embedded system, developers may encounter a range of issues during development and deployment. This section will delve into some of the most frequent problems faced by users and provide guidance on how to resolve them.
1. Power Supply Issues
Problem:
One of the most common problems developers face is power supply instability. The STM32L151CCT6 is sensitive to power fluctuations, especially when operating at low voltage levels (down to 1.65V), which is typical in battery-powered applications. Inadequate or unstable power supply can lead to malfunctioning or system resets.
Solution:
Check power integrity: Ensure that the power supply is within the recommended operating range (1.65V to 3.6V). Use an oscilloscope to monitor the voltage rail and confirm there are no significant dips or noise.
Use a decoupling capacitor : Place ceramic capacitors (e.g., 100nF) as close as possible to the power pins (VDD, VSS) of the STM32L151CCT6 to filter out high-frequency noise and smooth the voltage.
Consider a dedicated low-dropout regulator (LDO): In cases where power stability is critical, consider using an LDO regulator with better noise rejection.
2. Incorrect Clock Configuration
Problem:
Clock-related issues are frequent in STM32 microcontrollers. Since the STM32L151CCT6 can operate from multiple clock sources (HSI, HSE, PLL, etc.), an incorrect configuration can lead to the MCU running at an unintended frequency or not starting at all.
Solution:
Check startup sequence: Ensure that the correct clock source is selected in the startup code. If using an external crystal oscillator (HSE), check that the crystal is properly soldered and that the correct capacitors are used.
Use the STM32CubeMX tool: STM32CubeMX is a graphical configuration tool that helps set up clocks, peripherals, and pinout configurations. Ensure that the tool's clock configuration matches the hardware setup.
Check PLL settings: If using the PLL for clock multiplication, verify that the PLL source and multiplication factor are configured correctly. Incorrect PLL settings may prevent the microcontroller from achieving the desired clock speed or lead to a non-functional system.
3. Firmware Debugging and HAL Issues
Problem:
Developers frequently encounter issues with the STM32 hardware abstraction layer (HAL), especially when configuring peripherals or Communication protocols like UART, SPI, and I2C. Incorrectly configured peripherals can result in poor performance, data corruption, or system crashes.
Solution:
Enable debugging: Ensure that debugging is enabled in the project settings (e.g., SWD or JTAG interface ). Use a debugger (e.g., ST-Link or J-Link) to step through the code and identify where the malfunction occurs.
Use STM32CubeMX generated code: Start with STM32CubeMX for peripheral initialization. This tool generates reliable initialization code for peripherals, reducing the chances of manual mistakes.
Check interrupt priorities: Incorrect interrupt priorities or interrupt handling can lead to unexpected behavior, especially in systems with multiple peripherals. Ensure that interrupt priorities are set correctly and that interrupt service routines (ISRs) are not blocking other critical processes.
Check HAL version: Sometimes, bugs or issues arise from using an outdated version of the STM32 HAL. Make sure you are using the latest stable release of the STM32Cube firmware package.
4. Communication Protocol Failures (UART, I2C, SPI)
Problem:
Another common issue with the STM32L151CCT6 is communication protocol failures, particularly with UART, SPI, and I2C. These problems can manifest as data corruption, missed packets, or communication timeouts.
Solution:
Verify baud rates and settings: For UART, make sure that the baud rate, parity, stop bits, and flow control are set correctly on both the transmitting and receiving devices. Mismatched settings can cause communication failures.
Use pull-up resistors on I2C lines: I2C communication requires pull-up resistors on both the SDA and SCL lines. If these resistors are missing or incorrectly valued, communication will fail. Typically, 4.7kΩ to 10kΩ resistors are recommended.
Check SPI clock polarity and phase: SPI communication can be tricky due to its clock polarity (CPOL) and clock phase (CPHA) settings. Ensure that both master and slave devices are configured with the same settings for these parameters.
Use logic analyzers: In case of persistent communication issues, using a logic analyzer can help visualize the signal integrity and timing of the protocol, making it easier to spot errors.
5. Brown-Out Reset (BOR) Issues
Problem:
The STM32L151CCT6 has a built-in Brown-Out Reset (BOR) feature that triggers a reset when the supply voltage drops below a certain threshold. This is particularly useful in battery-powered applications but can be a source of trouble if configured incorrectly.
Solution:
Adjust BOR threshold: In STM32CubeMX, you can configure the BOR threshold. For more stable operation, ensure that the threshold is set to an appropriate level based on your application’s voltage range.
Check supply voltage: If the system keeps resetting unexpectedly, monitor the supply voltage during operation. If the voltage dips too close to the BOR threshold, consider using a more stable power supply or adding capacitors to maintain a consistent voltage.
Advanced Troubleshooting and Solutions for STM32L151CCT6
While the issues covered in Part 1 are relatively common, there are additional, more complex challenges that developers might face when working with the STM32L151CCT6. This section will discuss these advanced troubleshooting scenarios and provide practical solutions.
1. Flash Memory Corruption
Problem:
Flash memory corruption can occur for a variety of reasons, including overvoltage, improper writes, or inadequate voltage during programming. Flash corruption can lead to system crashes, erratic behavior, or the inability to boot up.
Solution:
Check for voltage drops during writes: Ensure that the voltage is stable when programming the flash memory. Unstable power during write operations can cause partial or failed writes.
Use the STM32 bootloader: If flash corruption occurs, you can use the STM32 bootloader to reprogram the MCU via serial or USB, provided the MCU is not completely bricked.
Enable read-out protection (RDP): For enhanced security, enable read-out protection to prevent unauthorized access to the flash memory. While this does not directly prevent corruption, it can safeguard your firmware.
Perform flash memory wear leveling: In cases where the flash memory is frequently written to, implement wear leveling techniques to prolong the life of the memory.
2. Low Power Consumption Optimization
Problem:
One of the key advantages of the STM32L151CCT6 is its low-power operation. However, achieving optimal power consumption can be challenging, especially when transitioning between different low-power modes (Sleep, Stop, and Standby).
Solution:
Enable low-power modes: Use STM32CubeMX to configure low-power modes based on your application’s needs. For example, the Stop mode reduces power consumption while retaining RAM contents.
Disable unused peripherals: Ensure that unused peripherals are turned off or placed in a low-power state. This can significantly reduce power consumption.
Use the LSE (Low-Speed External) oscillator for RTC: For applications that require accurate timekeeping, use the low-power LSE oscillator instead of the high-speed HSE oscillator to save energy.
Profile power consumption: Use tools like the ST-Link power measurement tool or external power meters to profile the device’s power consumption in different operating states.
3. STM32L151CCT6 Boot Issues
Problem:
Another issue that developers may face is boot-related problems, where the STM32L151CCT6 does not boot correctly or at all.
Solution:
Check boot mode: Verify the boot pins (BOOT0 and BOOT1) are configured correctly. The STM32L151CCT6 can boot from internal flash, system memory, or external memory, and incorrect boot configuration can prevent the MCU from starting.
Use the bootloader: If the MCU is not booting due to flash corruption, you can use the built-in bootloader to reprogram the MCU through UART, SPI, or USB.
Perform a system reset: In some cases, performing a full system reset using the external reset pin or the software reset command can help resolve boot issues.
4. Peripherals Not Functioning Correctly
Problem:
Sometimes, peripherals like ADCs, timers, or PWM outputs may not behave as expected due to
If you are looking for more information on commonly used Electronic Components Models or about Electronic Components Product Catalog datasheets, compile all purchasing and CAD information into one place.
Partnering with an electronic components supplier sets your team up for success, ensuring the design, production, and procurement processes are quality and error-free.


